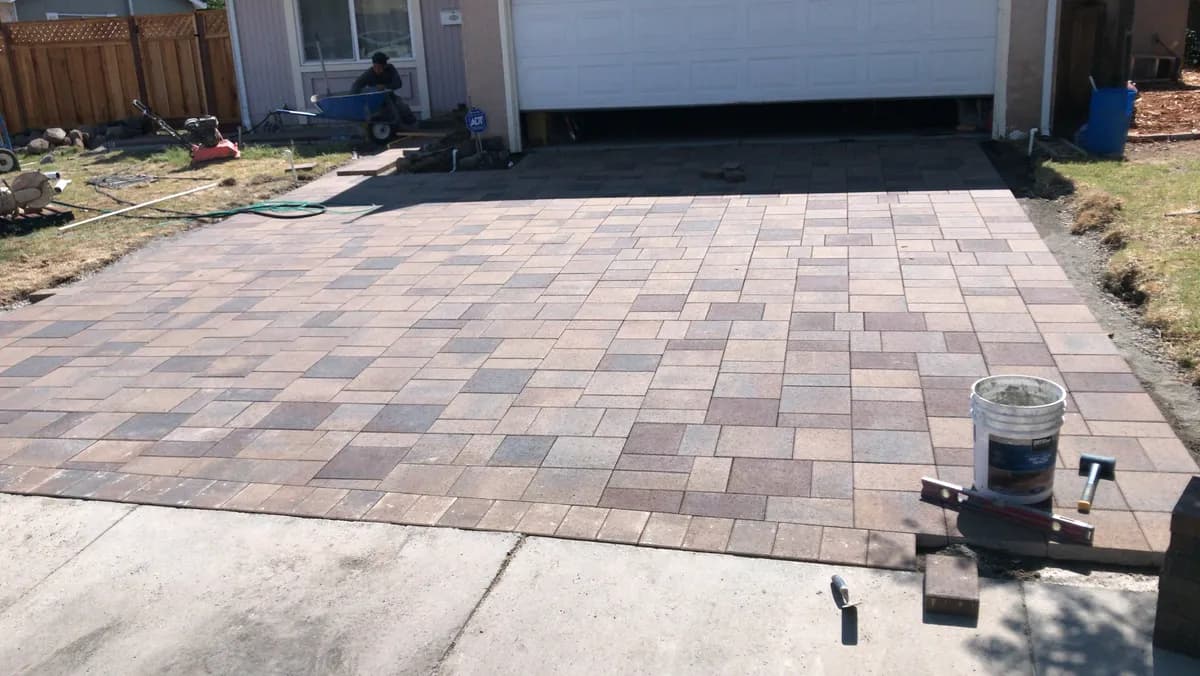
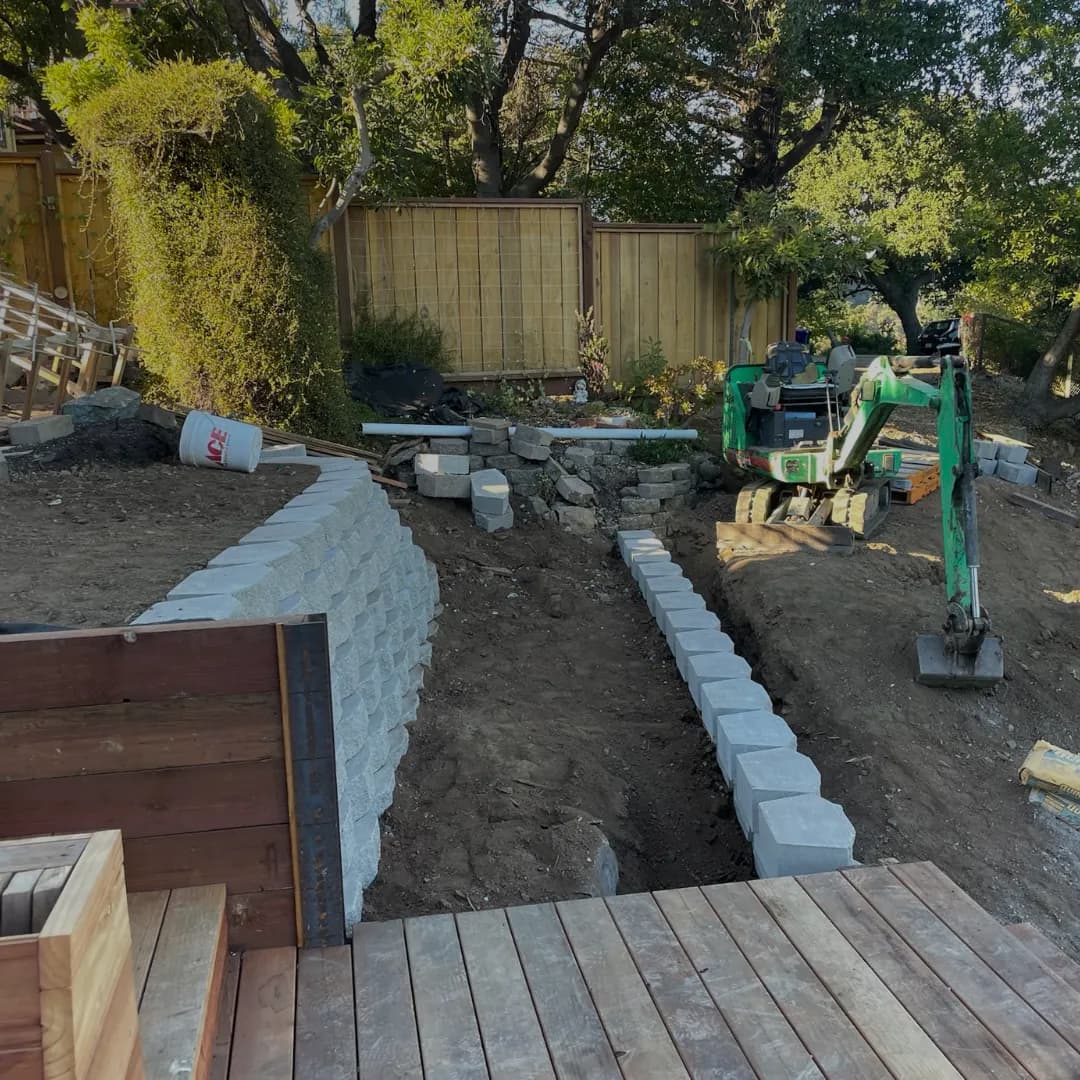
Your paver driveway, patio, or walkway is built to last a lifetime — but like any investment, a little regular paver maintenance goes a long way in keeping it looking its best. The good news? Maintaining pavers is far easier than most homeowners expect. With the right routine, your pavers will look as good in 20 years as they do today.
At TP Pavers, we've been installing and maintaining paver surfaces across the Bay Area for over 20 years. Our family-owned team backs every installation with a lifetime guarantee, and we're always here to help with maintenance advice and professional services. Here's your complete guide to paver maintenance.
Regular Cleaning: The Foundation of Paver Care
The most important aspect of paver maintenance is regular cleaning. Leaves, dirt, pollen, and organic debris can accumulate on your pavers, and if left too long, they break down into a film that encourages moss, algae, and staining. A simple routine keeps this in check:
- Weekly: Sweep or blow leaves and debris off the surface — a standard leaf blower works perfectly
- Monthly: Rinse the surface with a garden hose to remove fine dust and pollen buildup
- Quarterly: Inspect for any weeds starting in joints and pull them before they establish
- Annually: Deep clean with a pressure washer (1,500-2,000 PSI) or professional cleaning service
For routine cleaning, avoid harsh chemical cleaners — they can discolor pavers and damage the joint sand. A mixture of mild dish soap and warm water handles most surface stains. For tougher jobs, specialized paver cleaners are available that are formulated to clean without causing damage.
💡 Pro Tip from Our Team
When pressure washing pavers, always use a fan tip (25° or 40°) — never a zero-degree tip. Hold the wand at an angle to the surface and keep it moving. Direct, perpendicular blasting can erode joint sand and damage the paver surface. Consistent, sweeping passes give the best results.
Weed Prevention: Keeping Joints Clean
Weeds growing between pavers are the #1 paver maintenance concern homeowners have. The good news is that weeds are entirely preventable with the right approach:
- Polymeric sand: This is the single most effective weed prevention tool. Polymeric sand hardens when wet, creating a solid joint that weeds can't penetrate. We use premium polymeric sand on every installation and recommend re-applying it when joints begin to erode.
- Sealing: A quality paver sealer stabilizes the joint sand and creates a surface that discourages organic growth. Sealed pavers have dramatically fewer weed issues than unsealed ones.
- Regular sweeping: Weeds need soil to germinate. When organic matter like decomposed leaves accumulates in joints, it creates a mini growing medium. Regular sweeping removes this before weeds can take hold.
- Spot treatment: For occasional weeds that do appear, pull them by hand or use a targeted, paver-safe herbicide. Avoid broad-spectrum weed killers that can stain the surface.
Not sure where to start?
Our team has 20+ years of experience helping California homeowners. We'll walk you through your options — no pressure, no obligation.
Joint Sand Replacement
Over time, the sand between your pavers will erode — especially on driveways where vehicle traffic, rain, and pressure washing gradually wash it away. Depleted joint sand leads to loose pavers, increased weed growth, and ant infestations. Regular joint sand maintenance is a critical part of paver maintenance.
Here's how to know when your joints need attention:
- Joints appear deeper than when installed (more than ⅛" below the paver surface)
- Pavers feel slightly loose or shift when walked on
- Ant hills appear along paver edges or in joint lines
- Weeds grow more frequently despite regular cleaning
- Joint sand is visibly missing in areas
To re-sand your joints, sweep dry polymeric sand across the surface, working it into all joints with a broom or vibrating plate compactor. Then mist the surface with water to activate the polymeric binding agents. It's a straightforward process, but getting the moisture level right is critical — too much water washes the sand out, too little won't activate it. Our team offers professional re-sanding services that ensure perfect results every time.
Stain Removal Guide
Stains happen — but with proper paver maintenance knowledge, most can be removed completely. Here's how to tackle the most common stains:
Oil & Grease
Blot immediately with absorbent material (cat litter works great). Apply a degreaser, scrub with a stiff brush, and rinse. For old stains, a poultice or commercial paver degreaser may be needed.
Rust Stains
Caused by metal furniture, fertilizer, or irrigation water. Use a paver-specific rust remover — never bleach, which can discolor pavers. Prevention: use furniture pads under metal legs.
Organic Stains (Leaves, Berries)
Pressure wash with a mild detergent solution. For stubborn stains, an oxygen-based cleaner (like OxiClean) is effective and paver-safe. Regular sweeping prevents most organic staining.
Efflorescence (White Haze)
A natural mineral deposit that appears on new pavers. It typically disappears on its own within 6-12 months. For persistent cases, an efflorescence cleaner removes it without damage.
Sealing Schedule & Best Practices
Sealing is an optional but highly recommended part of paver maintenance. A quality sealer protects against UV fading, stains, weed growth, and joint sand erosion. Here's the recommended schedule:
- First seal: 30-60 days after installation (allow efflorescence to clear first)
- Re-seal schedule: Every 3-5 years for most California conditions
- High-traffic areas: Driveways and heavy-use patios may benefit from re-sealing every 2-3 years
- Best season: Spring or early fall — moderate temperatures and dry weather for proper curing
Always clean and re-sand your pavers thoroughly before applying sealer. Sealing over dirty or depleted joints traps problems underneath and reduces the sealer's effectiveness. Our professional sealing service includes complete surface preparation as part of every application.
💡 Pro Tip from Our Team
Always test sealer on a small, inconspicuous area before applying it to your entire surface. Different paver materials and colors can react differently to sealers. What looks great on a gray paver may darken a cream paver more than expected. A test patch lets you see the final result before committing.
When to Call a Professional
Most routine paver maintenance is manageable for homeowners. However, some situations call for professional expertise:
- Significant settling or unevenness: Pavers that have sunk or heaved need to be lifted, the base corrected, and the pavers relaid — a job that requires professional tools and experience
- Large-scale re-sanding: Full driveway or patio re-sanding is more efficient with professional equipment
- Sealer application: Even coverage with commercial-grade products delivers superior, longer-lasting results
- Stubborn stains: Professional cleaners have access to specialized chemicals and equipment
- Drainage issues: If water pools on your pavers instead of draining, the base or grading may need attention
Why Trust TP Pavers for Maintenance
At TP Pavers, we don't just install and walk away. We build long-term relationships with our clients, providing ongoing paver maintenance support and services whenever needed. Our team has 20+ years of experience maintaining paver surfaces in the Bay Area's unique conditions.
- Lifetime guarantee on all installations
- Professional cleaning, sanding, and sealing services
- 20+ years of Bay Area experience
- Family-owned — we're invested in your long-term satisfaction
- Free maintenance consultations
We serve homeowners across Contra Costa County, Alameda County, Marin County, San Mateo County, Santa Clara County, and Solano County — from Concord to Fremont to San Francisco.
Professional Paver Maintenance Services
Need help keeping your pavers in perfect condition? Contact us for professional cleaning, re-sanding, sealing, and repair services. We'll restore your pavers to like-new condition.